Showing posts with label organizing. Show all posts

Wednesday, October 19, 2011

Streamlining Your Morning Routine

Returning to work after over 3 months off is going to be difficult for me for more than one reason.  Not only am I going to have a tough time leaving my kids at daycare, I have to get myself, my 3-year-old daughter and my infant son ready in the morning.  I will also have to nurse my son in the morning before I leave.  This means I will have to get up around 5 am to be ready to leave the house at 6:30.  Here are a few tips I have used in the past to ensure that I get out of the house on time:
    Lay clothes out the night before.
    
  • Prepare lunch the night before.  I always take lunch to work in order to save money.  In order to save time in the morning, I gather everything I will need for my lunch the night before.  Anything that needs to be refrigerated stays in one spot in the fridge.  All nonperishables go into my lunchbox and it sits out on the counter until the next morning.  When I get up, I put everything from the fridge into my lunchbox and I'm ready to go.
  • Shower the night before.  This is one I personally do not do.  I just don't feel clean unless I shower before work.  I make sure to get up early enough for a quick shower but this tip works really well for some people.  Suave, as well as other haircare companies, now make dry shampoos.  I think this would be a great alternative to showering in the morning.
  • Have breakfast items ready.  The night before put out everything you will need for breakfast.  I keep things in the freezer for breakfast, so I just pull out what I will be eating the night before.  If I will be having cereal, I pull out my bowl, spoon and box of cereal.  If I'm having a smoothie, I make sure all my ingredients are in one place.  This saves me the time of gathering what I need for breakfast in the morning.
  • Multitask.  This year I will be eating breakfast while I'm nursing my son.  In the past I have checked my e-mail in the morning while eating breakfast.  Watch the news and listen to the weather while you are getting dressed. 
  • Lay out your clothes for work the night before.  I put out everything I will need for the following day including my outfit, shoes, socks and accessories.  I use very minimal make-up, so I keep the products I will be using that day in one spot.  In the past, I have also kept a 5 pocket organizer in my closet.  On Sunday, I placed one outfit in each pocket.  I could then just grab an outfit each morning.
  • Organize kids' clothes for the week.  On Sunday evening, I will be pulling out 5 outfits for both of my children.  This will include clothes, socks, hair accessories and any other items needed for the daily outift.  My 3-year-old daughter likes to assist in picking out her own clothes so I will be enlisting her help for this.  I have an empty space reserved in each of my kids' dress drawers where I can stack their outfits for the week.  The night before, I will pull out an outfit and place on top of the dresser--this way, if my husband is dressing the kids in the morning he knows what to put on.
  • Keep coats and bags in one location.  We have a 3-hook hanger behind out door.  I put everything I will need for the day on one hook (my bag that I take to work each day, my purse, my coat).  I put my kids' coats on another hook.
  • Fill water bottles the night before.  If you take a bottle of water to work each day, fill it the night before and place in the refrigerator.  You can just grab and go! 
What are your helpful tips for streamling the morning routine?

Saturday, October 1, 2011

Snack Organization


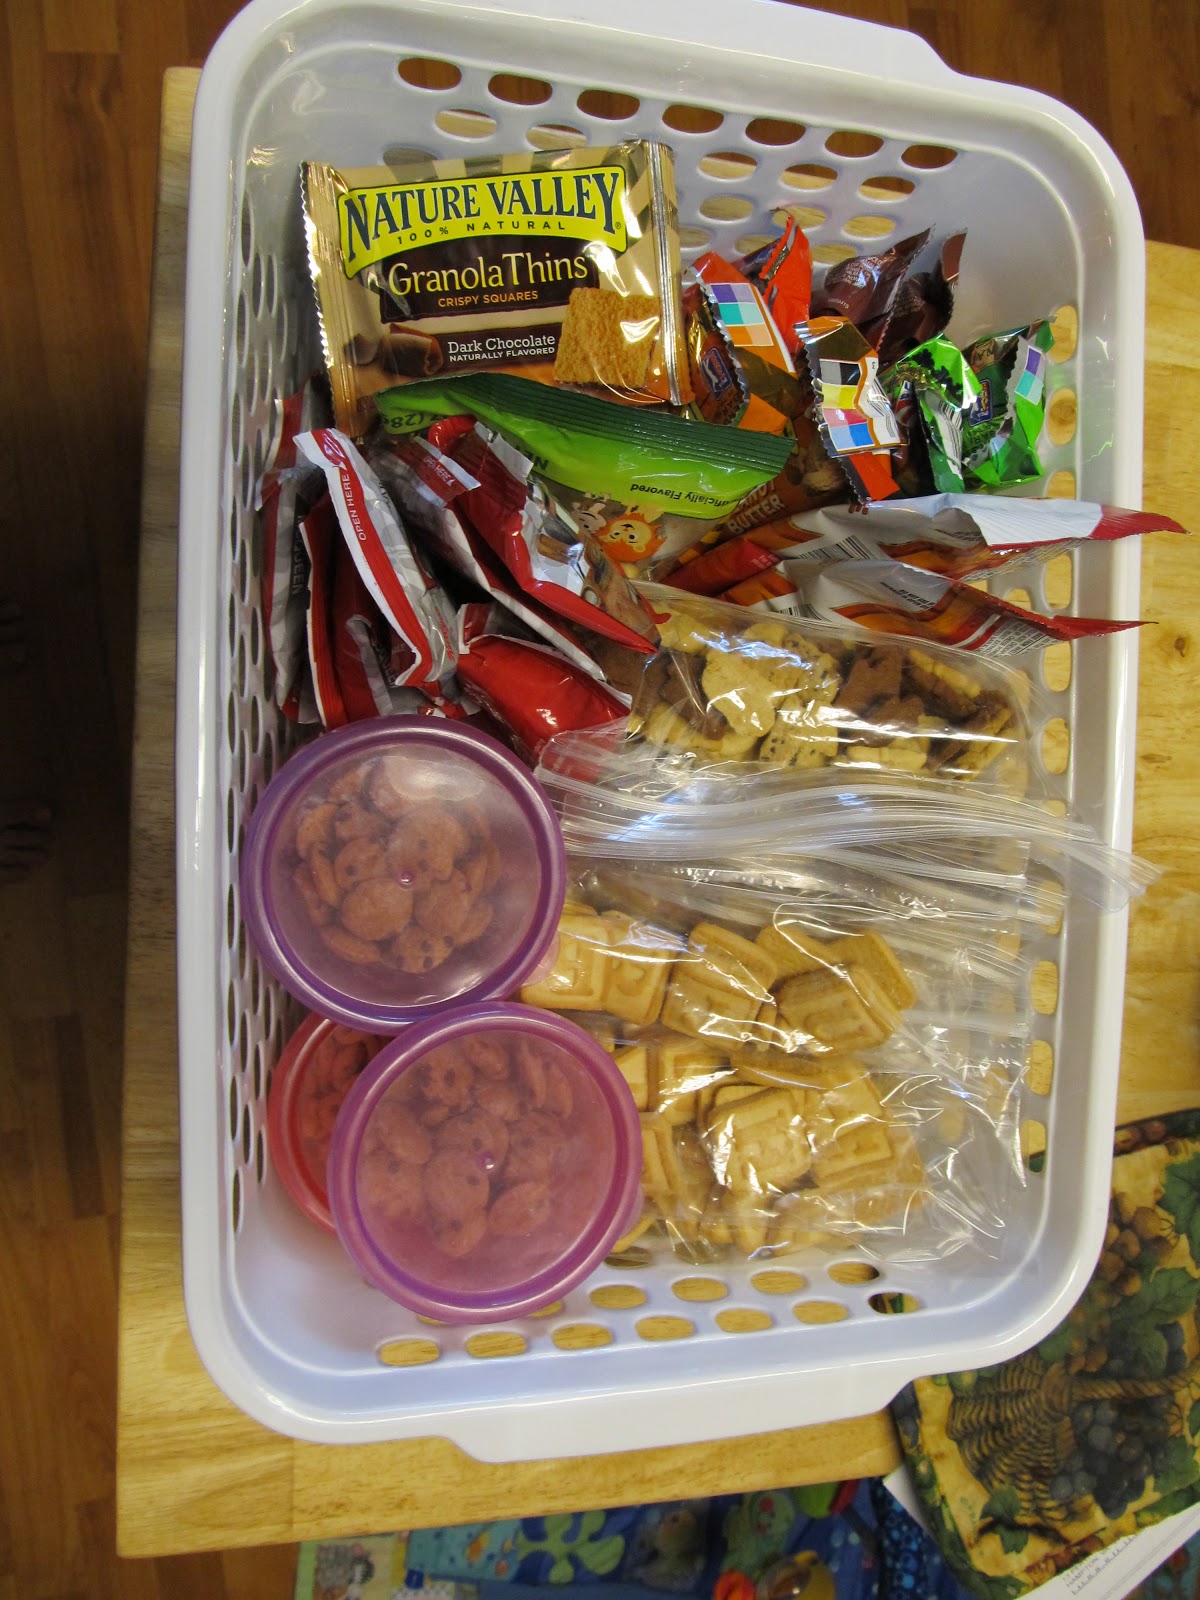
There are tons of ideas out in blogland recently for how to organize snacks and lunch items.  My daughter gets a morning snack and a snack after nap.  Most of the snacks I have for her are in a high cabinet she cannot reach so I decided to take some inspiration from the many ideas I've seen on blogs recently and create my own.  I simply took a plastic bin that we were not using and placed all of her snacks in it.  Pre-packaged snacks like fruit treats and granola bars are just stacked neatly.  I took Goldfish crackers, snack cookies and crackers and placed them in individual snack size baggies.  I also put small servings of cereal in plastic lidded cups that she can grab for a quick snack before she leaves on school days.  I put the basket in a low cabinet where she can easily reach it.  What a timesaver for me!

Thursday, September 15, 2011

Menu Planning Board, Take 2

Several weeks ago, I posted about my menu planning board.  While I was really happy with the way it turned out and I thought it was very cute, it wasn't working for me.  I'm all about convenience and this wasn't it.  It was taking entirely too long to dig through the envelopes to find each of the meals I had on the plan for the week and write down new meals on new cards. 

Last week, I won My Memories Suite software over on Cupcakes Kisses 'n' Crumbs.  I immediately started working with it and designing layouts.  I have come up with several projects I am planning to create using the software (including some Christmas gifts).  This is my first creation:


How cute is that?  I printed this out on 8 1/2 x 11 paper, cut it down to size and put it in an 8 x 10 frame.  I can now use a dry erase marker (or, as in the case, my daughter's dry erase crayons) to write our menu out each week.


I'm thinking I might paint and distress the frame.  What do you think?

If you'd like a copy of this menu planning sheet you can get it here.  If you share this printable with others, please link back to this post.  I'd love to see how you use it!

I've linked up to:

Somewhat Simple  HookingupwithHoH      Photobucket    Todays Creative Blog 

Friday, August 12, 2011

I'm so excited...

about my new purchase!  Well, new to me, anyway.  What is it, you ask?  Something most people would not be at all excited about.  But it's something I have been wanting/needing for a long time.  The best part is that we got a steal on it.  And it's going to make menu planning and preparing dinner so much easier.  It is...
a deep freezer!  So, why am I so excited about this purchase?  I enjoy freezer cooking when I have the time so that I can have items available that will not take too much effort to prepare on busy weeknights.  I frequently stock my freezer with marinated chicken, pizza dough and sauce, chicken tenders, hamburger patties, casseroles and taco meat.  I have 2 refrigerators--a side-by-side inside and a traditional version in the garage (with no shelves in the freezer).  I consistently pack both full of food and often find food falling out when I open the freezer.  So, having a deep freezer means I will no longer have food falling out when I open the freezer and I can do more freezer cooking.

Plus, it only cost $50!  Can't beat that...  And, as you can see, I am already working on filling it up!

Thursday, August 11, 2011

Menu Planning Board

As you know, I love to menu plan but I have not always done it.  It makes life so much easier, though.  I don't have to call my hubby to ask what he wants for dinner or give in to last minute requests to go out to eat because I don't have anything planned.  I have tried all sorts of menu planning methods--a printable calendar, a menu planning grid and this blog are just some of the tools I have used.  After seeing ideas for menu planning boards here, here and here, I decided to create my own.

For this board, you will need:
  • cookie sheet
  • spray paint
  • cardstock
  • scrapbooking paper
  • magnet tape
  • scrapbooking letter stickers
 Begin by spray painting the cookie sheet.  Print the header and days of the week cards on this site onto cardstock.  Attach magnet tape onto the back of each card.  Create envelopes for your menu items by gluing 2 small squares of colored cardstock together (I used a scrapbooking scrap pack).  Glue a smaller square of your favorite scrapbooking paper to the front of each envelope.  Use scrapbooking letter stickers to label each pocket and then attach magnet tape to the back of the pocket.  Place all of your pieces of the cookie sheet, as seen in the picture above.  Print your menu options on cardstock,  back with magnetic tape and place in the appropriate envelope to use for menu planning.

This took me less that an hour (minus spray paint drying time) to assemble and will make a great addition to our kitchen!

Wednesday, July 20, 2011

Dollar Tree Closet Makeover

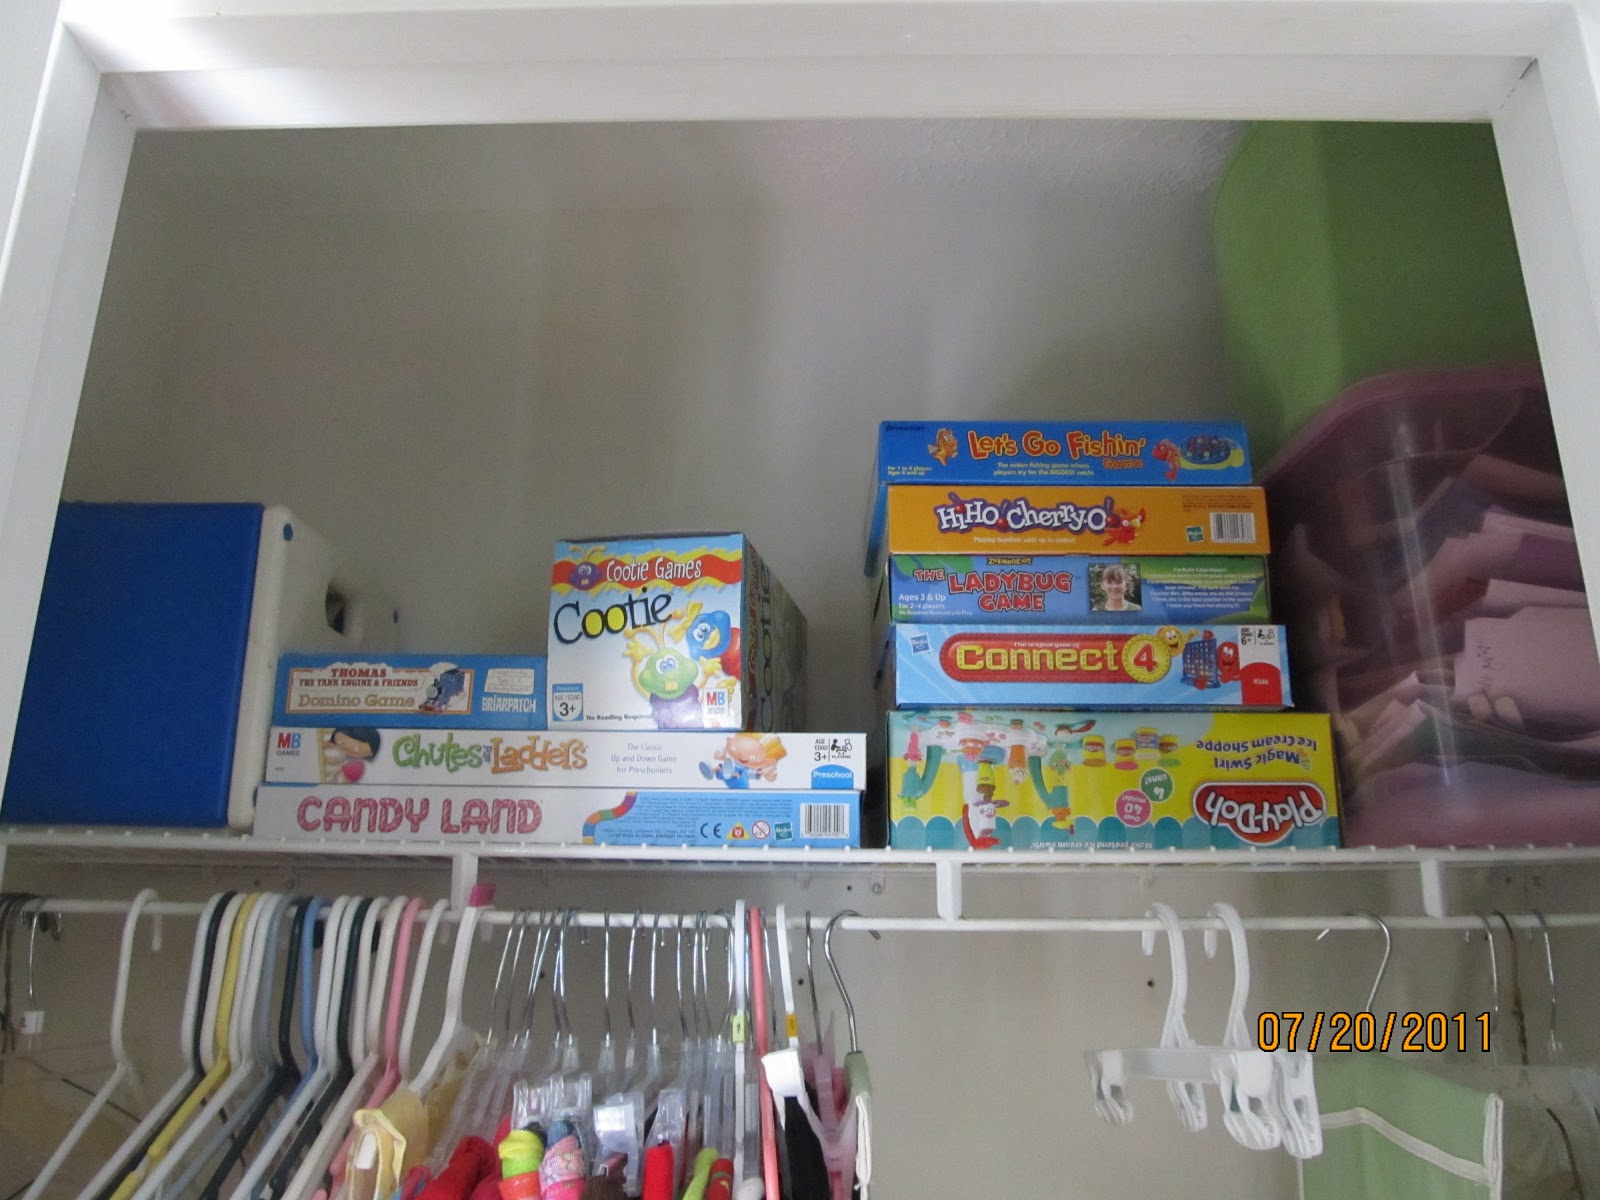
My 3-year-old daughter's closet was a complete disaster, so I decided to reorganize it today with a closet organizer from her old bedroom and baskets purchased from the Dollar Tree.  I started by removing things from the closet that did not belong (a massive keyboard, Christmas decorations, old curtains).  I moved toys to appropriately sized bins and put everything back in the closet.  Now she is able to reach all of her toys without needing help from mom and dad.  I even had extra storage space when I was done!

Before Pictures


After Pictures